If you want to take a ghost mannequin photo, you need to consider a few things. You can use any lighting. Choosing the right one is important because it will affect the mood of your photo.
As we know, photography is an art, and it is not easy to get the perfect shot. But with some tips, you can make your photos look more professional and high quality.
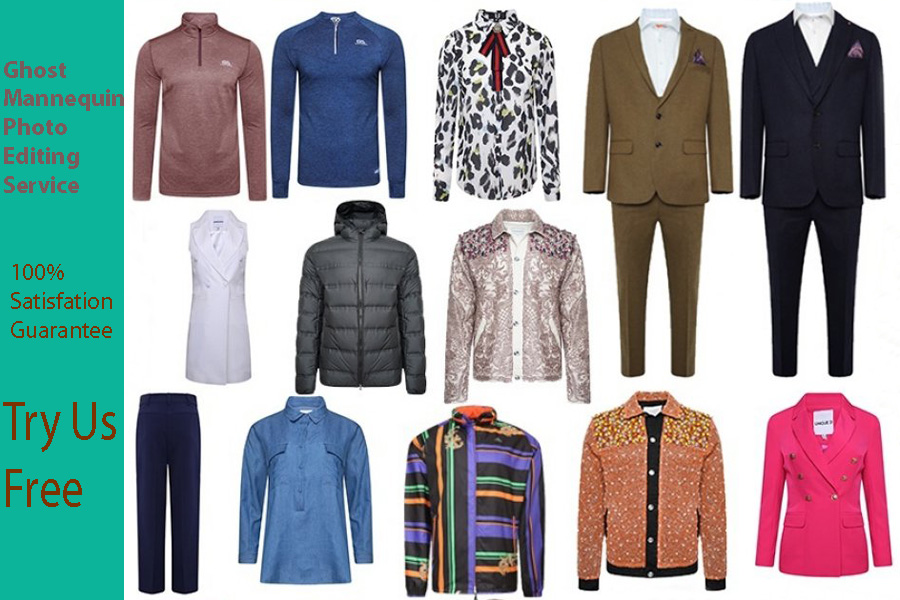
Of course, using mannequins for your product images is an efficient and cost-effective way to promote your products. indeed,
Mannequins allow your products to retain their shape. Which can make product images look more professional and consistent. The interest of the customer increases, moreover to the mannequin. Because the product displays very nicely by the dummy, the focus on the product is perfect.
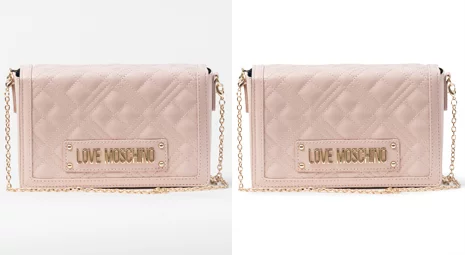
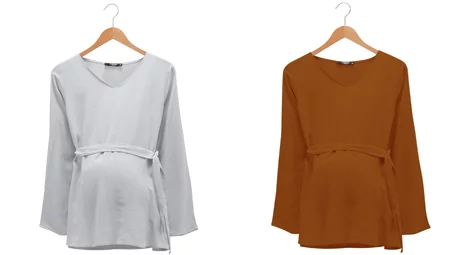
However, mannequins can be confusing, so a great alternative is to create a ghost mannequin for your product images like the ones below.
Looking at this image at first, it may seem like a reproduction of this type of image. And this is mainly for non-professional photographers.
So to create the desired effect, we will take the help of a simple process that merges two images of the product. And understanding how to photograph your product is critical to making the post. Production process is more efficient. We'll show you how to edit images after production, so stay tuned. So, we will create a "ghost mannequin service" for your eCommerce product photography.
How to Create a Proper Ghost Mannequin Effect
1. Selecting and Posing a Mannequin
Posing is One of the most common processes in fashion photography. It uses models or mannequins to demonstrate the unique shape of each product. However, showing the model in every picture is not always effective. Apparently, retailers sometimes select their products from images with models. And then remove the models, and the models are no longer visible in Photoshop.Among the sellers are small retailers who mostly do the image editing themselves. So, you may think that removing models and mannequins is a difficult task.
2. Setup and required equipment
For example, you want to execute the Ghost Mannequin technique. So, you need a studio setting. And it will be able to produce high-quality photographs.Suppose the quality of the photograph is low. Then the effect of the ghost doll will be less appealing. So this camera setup is essential to make Aben attractive. Camera and lighting techniques, equipment, and placement are all determined here. It depends on each specific product.
Set up your DSLR settings for the best results
Here's how to use your DSLR camera settings to take great product photos.
For inspiration. You can check out this professional demonstration of a ghost mannequin photo. Shoot by e-commerce photo studio Fotoempressus.
3.How to take product photos.
When you take a picture of the shirt, it's essential to keep the camera directly level with the chest area, where the camera will position from the hip area to the very bottom of the photograph.
Photographing a product from too high or too low an angle is more likely to make the garment look "tapered" and wrong.
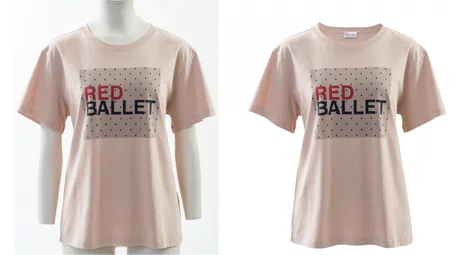
Below are photographs of two examples of tank tops worn by a mannequin. And that picture on the left.
If there is, it was taken below chest height. Then the result is an unearthly view of the product. The right-hand image shows a front and back view of the chest,
This results in a flattering view of the product.
It is best to use a telephoto zoom lens to capture your images. It can help reduce distortion. And It also allows you to move closer to smaller objects and further away from larger objects.
Make sure your studio shooting space is spacious enough. And accommodate your camera and tripod for invisible mannequin shoots. Two studio lights and umbrellas are equally distinct on either side of the product and in the background.
First, you need to photograph your product. Such as clothing, with a model wearing the dress. And photographing it from multiple angles. This advantage is that you can use these images in your product gallery.
If you use a real model, you must use a static pose, as shown above.
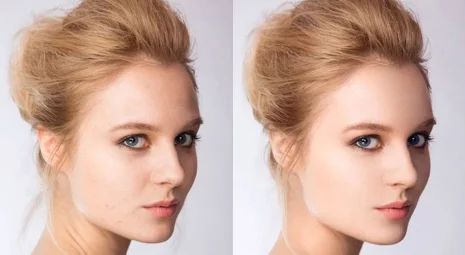
For example, if your model has long hair, it should be tied back so that it does not obstruct the product's view. And these factors will make image editing much more accessible.
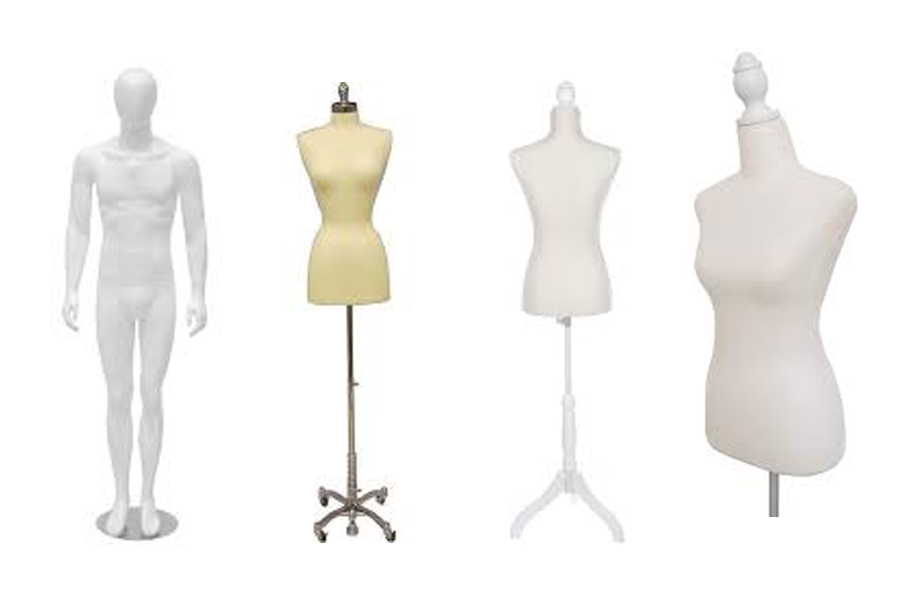
There is a wide variety of mannequins. It depends on your needs. You can buy a mannequin with or without arms, hands, legs, or neckline. And if your mannequin has arms and hands, no problem. Just make sure the limbs can be placed out of the frame.
White matte mannequins are generally non-reflective and can blend. Into a white background and making editing the mannequin from the image very easy.
The garment must fit properly, and make sure your product fits your mannequin or model. Also, if your product has sleeves, keep them down so they don't catch the audience's eye.
Post-Processing Images: An Essential Step-by-Step Guide for ghost mannequin
It's easy to give it a ghost mannequin effect by capturing the scenes you need. But you can outsource this editing task to professional editors if you are not experienced.
Investing in outsourcing can save your company time and frustration in the long run. But if you have a limited budget. Then do it yourself. Then follow these seven easy steps. Finally, create your ghost mannequin effect in Photoshop.
1. Open your file in Photoshop and create layers. Create each layer with the name of whatever you want to work with.
First, you must open the mannequin and foam board images in Photoshop. Next, select your mannequin image and create a new background layer.
Fill that layer with white. It will be helpful to label your layers so you can keep them separate and organized.
2. Select the product on the mannequin image with a selection tool. And zoom in and choose the selection tool of your choice. It can be a quick selection, lasso, or magic wand.
All three will help you enough to make your desired selection.
3. Refine and put on your mask
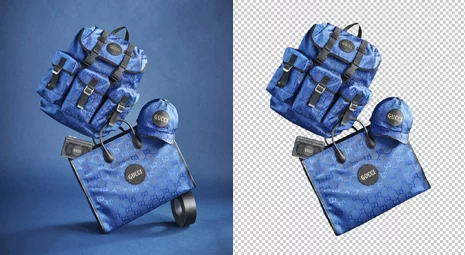
Once you've selected the perfect product and refined your mask, remove all backgrounds and mannequins.
This can do by using the "Refine Edge" tool in the "Selection" menu.
Click "OK" in the "Refine Edge" dialogue box and place a mask on your clothing layer.
Indeed you can see your product floating on the white background you created earlier. If necessary, refine the mask a bit more or re-finish the edges of the product to give it a fresh and beautiful look.
4. Now, you must wash and repeat the previous steps with the foam board image.
Now switching gears, repeat steps 1, 2, and 3 on your foam board product image.
At first, the image of such a product may seem a little strange, but it is essential to have one to do the job.
Now create a new layer again, select the product and create and refine your mask.
5. Combine all the pictures or photos.
When both images have a tight and clean mask, then drag the mask from the foam board image onto your ghost mannequin product image.
Organize all levels. As a result, the figure on the foam board is lower than the mannequin figure.
The next task is to adjust the foam board layer's position and its proportions. This causes it to fit perfectly behind the mannequin level. And Just below the shoulders in a rounded curve.
6. Discard the unnecessary parts of the foam board layer.
At this point, brush away the hidden parts of your mannequin layer. And the unnecessary parts of the foam board layer.
It would help if you placed the neckline triangle between the shoulders.
Remove the piece in the picture of the foam board, and it's already in the mannequin shot.
Once this is done, double-check that your layers are transparent. And nothing is out of alignment - primarily the neck and shoulders.
7. Add shadow and save to folder
Finally, add a drop shadow between the two layers. And as a result, it will give the product a more professional look and depth. And save the Photoshop file with all layers intact in your specified device location.
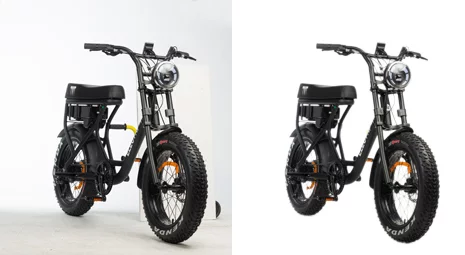
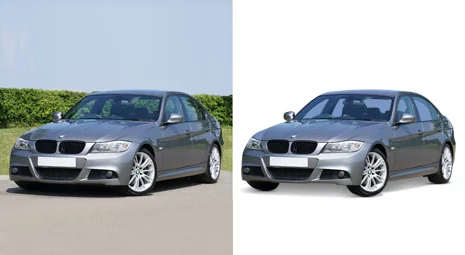
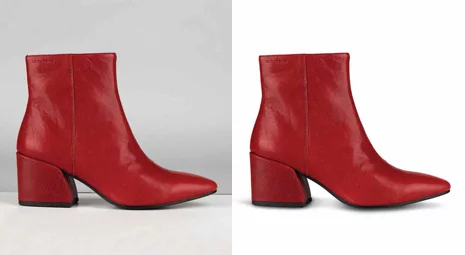
If the editing work is done correctly and nicely, you will get a 3D effect like the one below. Which will improve your product photography quality and help you. It will also help to increase the sales of your online store tremendously.
Conclusion
So, finally, we want to say that start your ghost mannequin photography journey without further thought. I hope you succeed. Best wishes to you. If you want to make your ghost mannequins more realistic and professional contact some professionals who provide this type of services. We will Suggest You Clipping Path Solve.
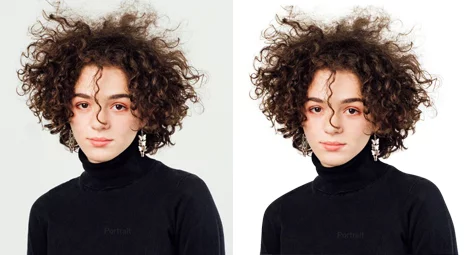

 Among the sellers are small retailers who mostly do the image editing themselves. So, you may think that removing models and mannequins is a difficult task.
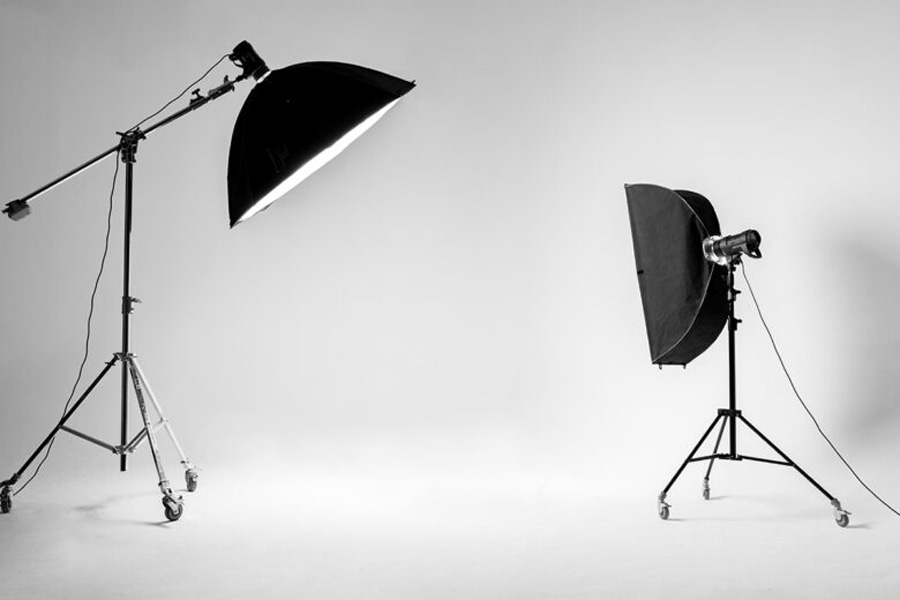 Suppose the quality of the photograph is low. Then the effect of the ghost doll will be less appealing. So this camera setup is essential to make Aben attractive. Camera and lighting techniques, equipment, and placement are all determined here. It depends on each specific product.
Set up your DSLR settings for the best results
Here's how to use your DSLR camera settings to take great product photos.
For inspiration. You can check out this professional demonstration of a ghost mannequin photo. Shoot by e-commerce photo studio Fotoempressus.
Suppose the quality of the photograph is low. Then the effect of the ghost doll will be less appealing. So this camera setup is essential to make Aben attractive. Camera and lighting techniques, equipment, and placement are all determined here. It depends on each specific product.
Set up your DSLR settings for the best results
Here's how to use your DSLR camera settings to take great product photos.
For inspiration. You can check out this professional demonstration of a ghost mannequin photo. Shoot by e-commerce photo studio Fotoempressus.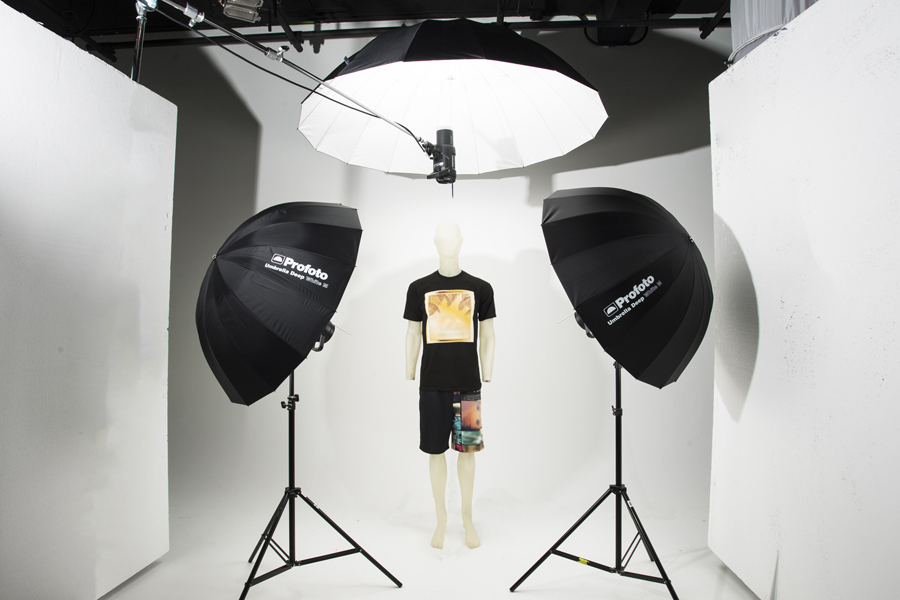 There is a wide variety of mannequins. It depends on your needs. You can buy a mannequin with or without arms, hands, legs, or neckline. And if your mannequin has arms and hands, no problem. Just make sure the limbs can be placed out of the frame.
White matte mannequins are generally non-reflective and can blend. Into a white background and making editing the mannequin from the image very easy.
The garment must fit properly, and make sure your product fits your mannequin or model. Also, if your product has sleeves, keep them down so they don't catch the audience's eye.
There is a wide variety of mannequins. It depends on your needs. You can buy a mannequin with or without arms, hands, legs, or neckline. And if your mannequin has arms and hands, no problem. Just make sure the limbs can be placed out of the frame.
White matte mannequins are generally non-reflective and can blend. Into a white background and making editing the mannequin from the image very easy.
The garment must fit properly, and make sure your product fits your mannequin or model. Also, if your product has sleeves, keep them down so they don't catch the audience's eye.